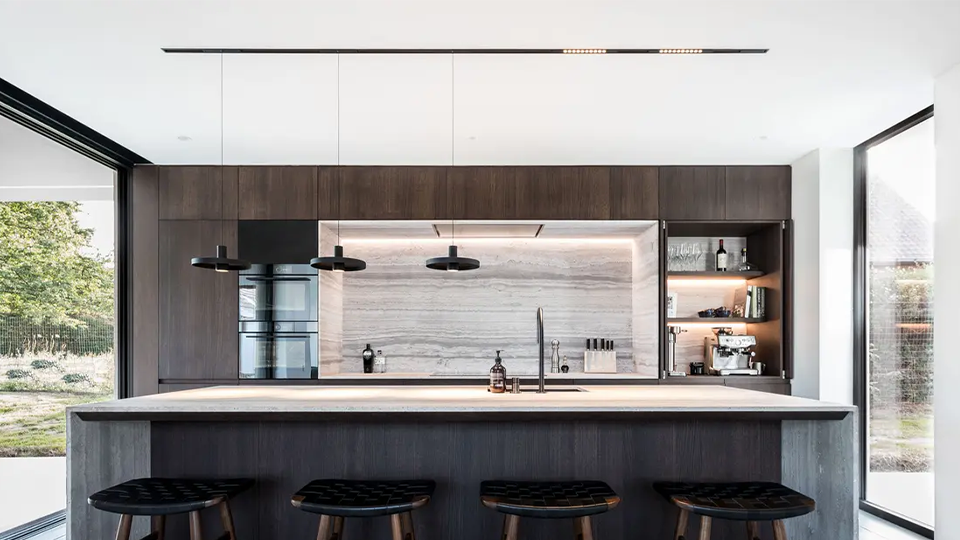
How to connect 48V track lighting? A step-by-step guide.
Magnetic rail lighting has become a popular choice for his flexibility and modern appearance in both residence and commercial spaces. If you're considering installing magnetic rail lights, but not sure how to handle this, you're here at the right address. In this blogpost Lightandshade stage evidence how to connect magnetic rail lights so you can enjoy your new efficiency.
Step 1: Pick the type of rail and light
Before you start, you have to decide which type of magnetic rail you want to use and what light you want to install on it. Magnetic rails are in different lengths and styles, and you can choose from a variety of armor positions like spots, hanglights or LED-strips. Make sure the chosen lighting is compatible with the magnetic rail you bought.
Step 2: Montify the magnetic rail
Montread the magnetic rail on the ceiling or on the wall using the contributed montage materials. Make sure the rail has been confirmed and water pass is placed, especially if you want to install multiple rails next to each other.
Step 3: Preparation of power supply
Before you connect the lights, you need to make sure the power's down by the main switch or the power outbreaker that controls the lighting circuit. This is essential for your safety during the installation.
Step 4: Connect the power adapter
Lots of magnetic rail systems use a power adapter that delivers the power to the rail and with the lighting. Seal up the power adjuster on a stop contact near the rails. Make sure the wires are secure and there's no tension on the wires before you move on.
Step 5: Install the lights
Now you can install the enlightenments on the magnetic rail. Depending on the type of enlightenment you've chosen, there could be several confirmation methods. Follow the specific instructions of the manufacturer for establishing the enlightenment positions on the rail.
Step 6: Connect the lights
Seal the lights on the magnetic rail according to the manufacturer's instructions. This can vaguely depend on the type of lighting, but usually it's about clicking or connecting the electrical contacts to the rail. Make sure all connections are tightened to ensure a good work.
Step 7: Test the lights
Before you complete the installation, you're testing the lights to make sure everything is correctly connected and that the lights are working to belong. Turn the power back in and check or all the enlightenment positions function properly.
Step 8: Finishing and Customization
After testing the lights, you can do any last adjustments, like aiming the spotlights or adjusting the height of hanglights. Make sure everything's okay before you finish the installation.
Step 9: Safe and navigation
Security is always important to electrical installations. Check again if all connections were properly established and there are no loose wires. Save the manuals and guarantee information from your enlightenment positions for future maintenance.
With these steps, you should be able to make magnetic rail lights successful in your space. If you have any doubts about certain steps or if you need more detailed instructions, we suggest we consult the manufacturer's specific manuals or professional help. Enjoy your new lighting and the flexibility that provide magnetic rail systems!
These articles can interest you, too


